This example shows you that how to insert an image to server (localhost) and its path and file name to database along with other text information using php script and mysql database.
Before we begin into programming, let's create a folder called "uploaded" at "wamp/www/your-web-directory" and it should appear like "wamp/www/your-web-directory/uploaded".
After creating folder, now go to mysql database and create a database called "demo" and table called "members2" with these columns and types in it.
Table Name: members2
Field names : memname, qual, photo, addrs, email.
Note. All field types should be varchar type and length you can set approximately 100 for each column.
The table should look as following screen shot.

Now create an HTML file for user to insert image with text. follow below example(addMem2.html).
1. addMem2.html
output of the above page is as following..

2. Now create a file called "addMem2.php" (follow below code)
out put of the above php page is as following...

Before we begin into programming, let's create a folder called "uploaded" at "wamp/www/your-web-directory" and it should appear like "wamp/www/your-web-directory/uploaded".
After creating folder, now go to mysql database and create a database called "demo" and table called "members2" with these columns and types in it.
Table Name: members2
Field names : memname, qual, photo, addrs, email.
Note. All field types should be varchar type and length you can set approximately 100 for each column.
The table should look as following screen shot.
Now create an HTML file for user to insert image with text. follow below example(addMem2.html).
1. addMem2.html
<html>
<body bgcolor=khaki>
<h1 align=center> Enter member information </h1>
 <form method="post" action="addMem2.php" enctype="multipart/form-data">
   <hr>
<center>
<table border=1 cellpadding=8 cellspacing=8>
<tr>
<td> Enter Members Name: </td> <td> <input type="text" name="memname"/> </td> </tr>

<tr>
<td> Please Enter Qualification: </td> <td> <input type="text" name="qual"/> </td> </tr>

<tr>
<td> Select Photo: </td> <td>  <input type="hidden" name="size" value="350000">  <input type="file" name="photo"> <p> Less than 350KB only </p> </td> </tr>

<tr>
<td> Address </td> <td><textarea rows="5" cols="35" name="addrs"> </textarea>   </td> </tr>

<tr>
<td>Email ID: </td> <td> <input type="text" name="email" size=30 />  </td> </tr>

<tr>
<td> <input TYPE="reset" name="can"  value="Reset"/> </td>

<td> <input TYPE="submit" name="upload" title="Add Members Details" value="Add Member"/> </td>
</tr> </table>
</form>
</body>
</html>
output of the above page is as following..

2. Now create a file called "addMem2.php" (follow below code)
<?php
$target = '/wamp/www/advancedPHP/Uploaded/';
$target = $target . basename( $_FILES['photo']['name']);

$mname=$_POST['memname'];
$mqual=$_POST['qual'];
$mpic=(mysql_real_escape_string($_FILES['photo']['name']

));
$maddrs=$_POST['addrs'];
$memail=$_POST['email'];

$connection = mysqli_connect("localhost","root","");
if (!$connection) {
   die("Database connection failed: " .

mysqli_connect_error());
}

$db_select = mysqli_select_db($connection, "demo");
if (!$db_select) {
die("Database selection failed: " . mysqli_connect_error());
}

// Entering information to the database
mysqli_query($connection,"INSERT INTO

members2(memname,qual,photo,addrs,email) VALUES

('$mname','$mqual','$mpic','$maddrs','$memail')") ;
// Stores the photo at server location
if(move_uploaded_file($_FILES['photo']['tmp_name'],

$target))
{

// confirms you all is correct!
echo "<h1 align=center><font color=green>The Image ".

basename( $_FILES['photo']['name']). " has been uploaded,

and your information has been stored to the database.

Thank you! </font> </h1>";
}
else {

echo "<h1 align=center><font color=red>Sorry, there was

a problem uploading your file.</font> </h1>";
}
echo "<a href=show_mem.php> Show All Members </a>";
?>
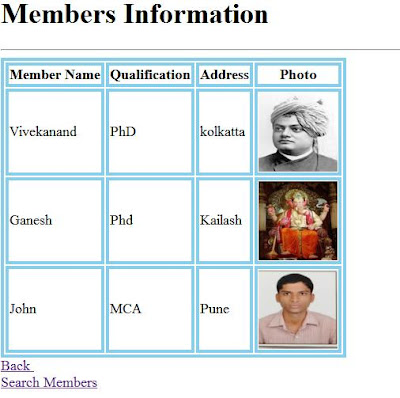
out put of the above php page is as following...

3. Now create one more page called "show_mem.php" with following code in it.
<html>
<head>
<style>
table, td, th {
    border: 4px solid skyblue;
}
</style>
</head>

<body background=bg.jpg>

<?php
$con=mysql_connect("localhost", "root", "");

if(!$con)
{
die('Couldnt connect to database:'.mysql_error());
}

mysql_select_db("demo", $con);

$result=mysql_query("select * from members2");

echo "<h1> Members Information </h1>";
echo "<hr>";
echo "<table border=1>";
echo "<tr>";
echo "<th> Member Name </th>";
echo "<th> Qualification </th>";
echo "<th> Address </th>";
echo "<th> Photo </th>";
echo "</tr>";

while($row=mysql_fetch_array($result))
{
echo "<tr>";
echo "<td>" .$row['memname']. "</td>";
echo "<td>" .$row['qual']. "</td>";
echo "<td>" .$row['addrs']. "</td>";
echo "<td>";
echo "<img src='uploaded/".$row['photo']."' height=100 width=100 />" ;
echo "</td>";
echo "</tr>";
}
echo "</table>";
mysql_close($con);
echo "<a href=addMem2.html>Back </a><br>";
echo "<a href=search_mem.html>Search Members </a>";
?>
</body>
</html>
output of the above program is...
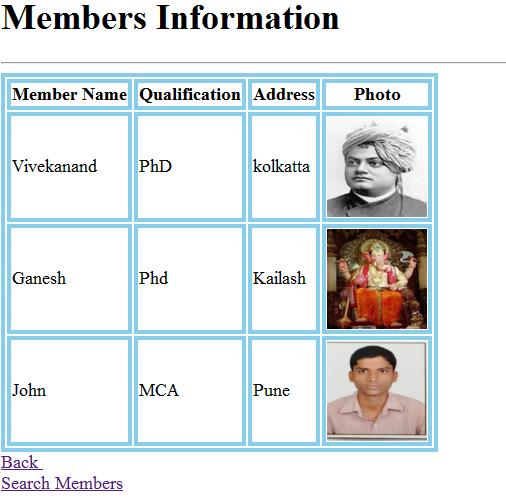
Thank you for referring this example. Please leave your valuable feedback to improve my further blogs.
Finally, don't forget to subscribe this site!!!..
No comments:
Post a Comment